

One snapped corner or an uneven white smile line can make a fresh set of French tips look unfinished. For nail techs and at-home artists who need quick, repeatable results, a dedicated acrylic French tip cutter turns irregular edges into clean, salon-ready lines without reworking the entire tip.
Why French tip edges go wrong
French tips fail cosmetically for a few common reasons: the tip was applied too long, the free edge was uneven during shaping, or the tip material chips when filing pressure is too high. These problems multiply when you’re working with multiple clients or doing sets in a hurry — inconsistent shaping wastes time and leads to patch jobs instead of clean finishes.
How an acrylic French tip cutter solves the problem
Rather than relying only on files and scissors, a purpose-made cutter lets you trim tip material to the exact silhouette you want in seconds. It removes excess acrylic or plastic at the free edge while creating a defined smile line or shape that needs minimal finishing. For quick corrections between fills or to reshape a tip for a specific style, the tool is a practical addition to any kit.
For a hands-on example and to compare shapes, check the French Tip Cutter Silver.
Available shapes and when to use each
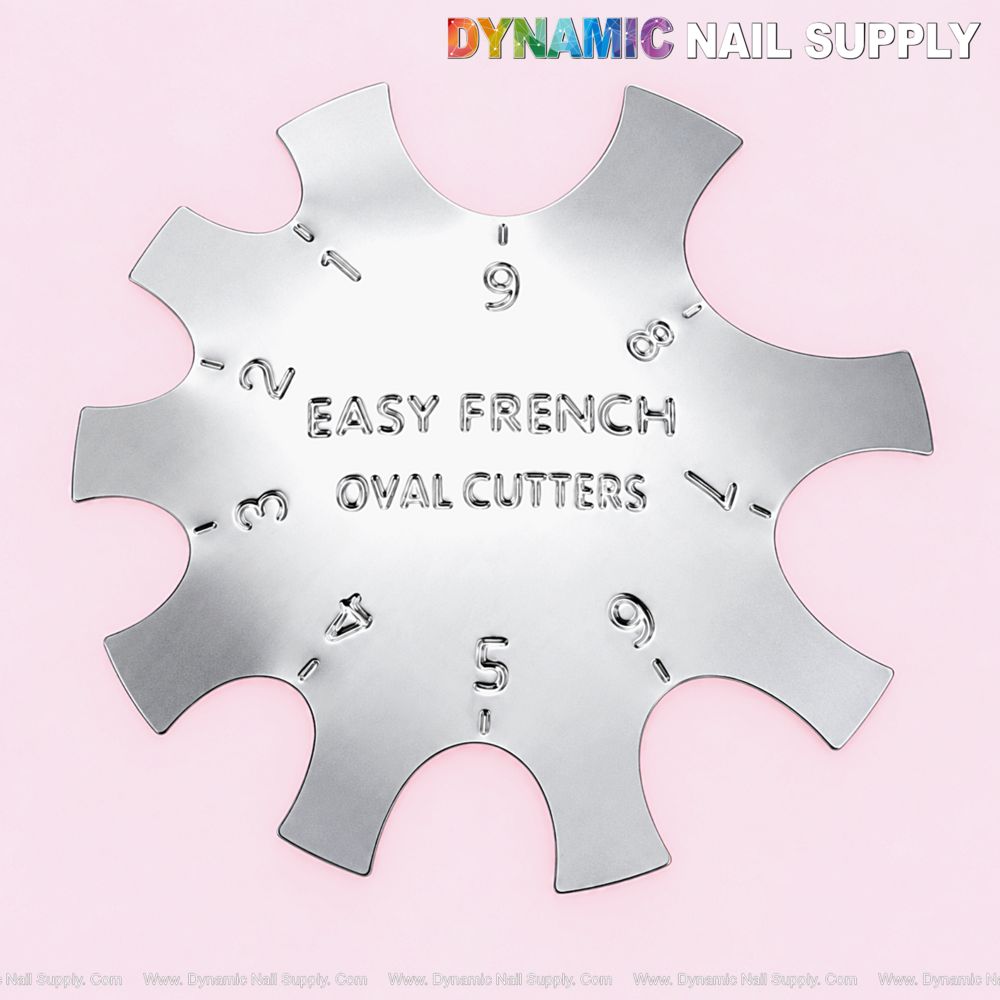
This cutter comes in four distinct profiles so you can match the tool to the look you’re creating:
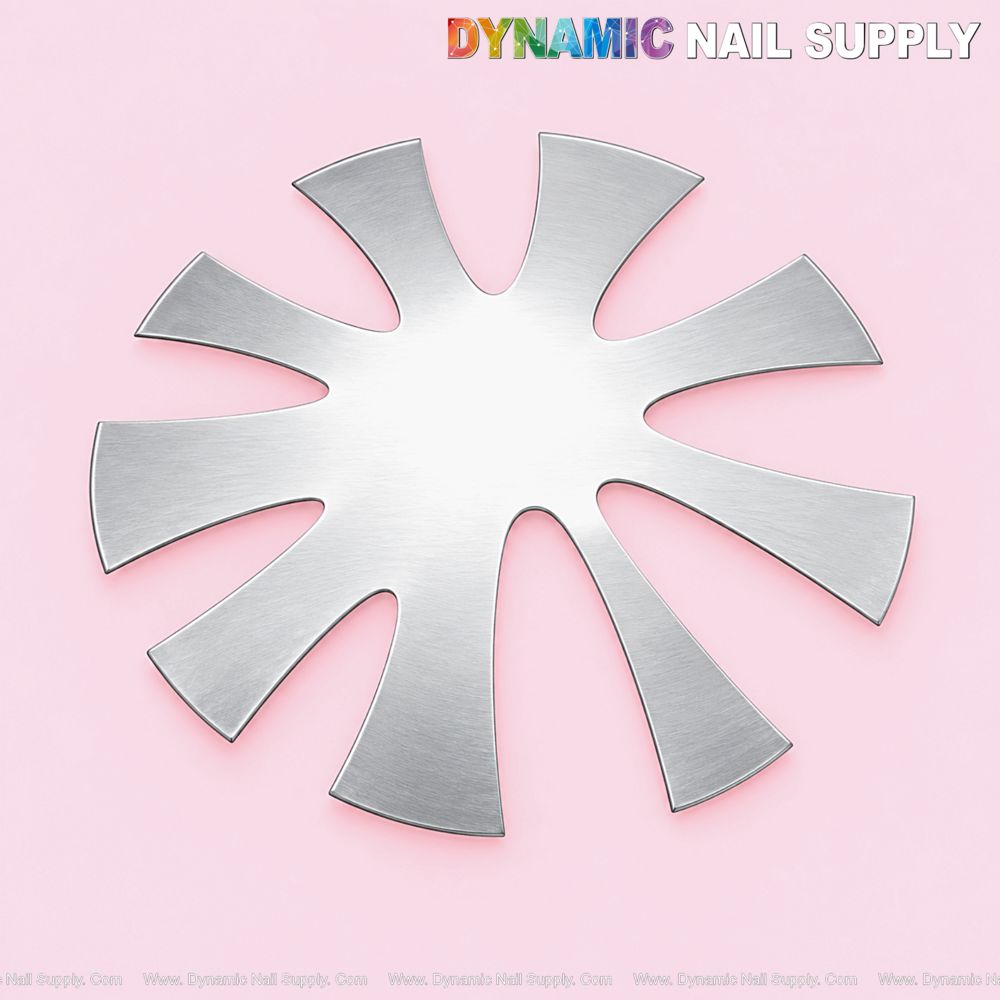
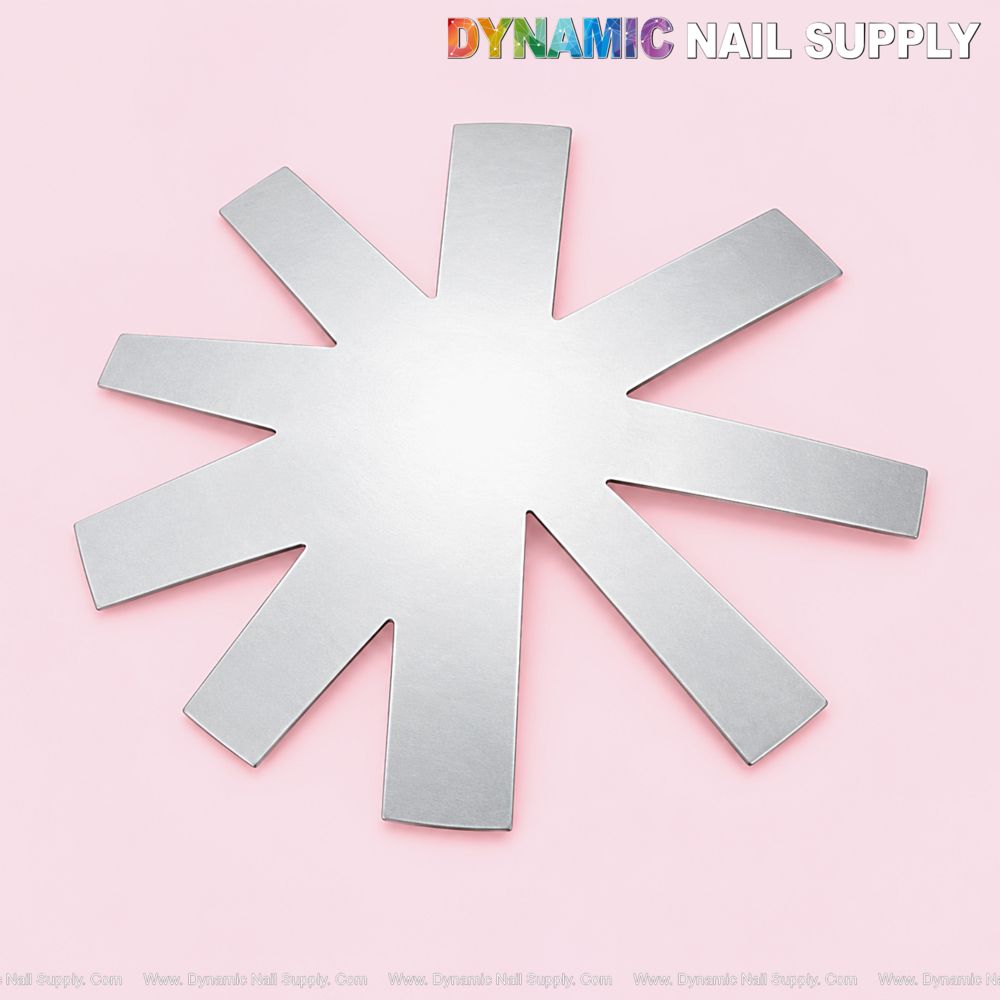
- Tapered Square French — Best when you want a subtle taper at the free edge while keeping a square silhouette.
- V-cut French — Excellent for dramatic, pointed smile lines or when a sharp V is part of the design concept.
- Deep Oval French — Use this for rounded, broader white tips that require a smooth, deep curve.
- Classic French — The go-to for a traditional, gentle crescent smile line and everyday elegance.
Practical usage tips for consistent results
- Choose the shape that matches the tip you want before you start — this reduces trial and error.
- Work on a clean, supported nail. Secure the client’s finger so you can apply steady pressure while trimming.
- Start with small, controlled cuts and check the silhouette often; it’s easier to remove more material than to replace it.
- Follow the curve of the natural nail when positioning the cutter to keep smile lines proportional across all nails.
- After trimming, lightly buff the edge to blend the cut into the tip if needed; minimal filing is often all that’s required.

Key features in practical context
Several practical features make this tool fit into a professional workflow: the variety of available shapes lets a single kit cover multiple French styles, and the silver finish gives a neutral, easy-to-spot look in a busy workspace. At a list price of $8.00 (compare at $10.00), it’s an affordable way to eliminate rework and speed up service without adding complex equipment.
Who should add this cutter to their kit
This cutter is ideal for:
- Nail technicians who offer multiple French variations and need fast, repeatable edges.
- Salon owners who want to standardize finish quality across staff and sessions.
- Advanced at-home users who do their own acrylic maintenance and prefer precise, tool-guided shaping.
If you source supplies from a distributor, this tool is available through reputable sellers such as Dynamic Nail Supply.
Care and safety notes
Keep the cutter clean and store it dry between uses. Wipe down with an appropriate salon disinfectant after each client and inspect the cutting face for wear. Because this tool trims artificial tip material, avoid using excessive force near the natural nail plate to prevent accidental nicks.
Conclusion: a small tool with a big impact
When uneven edges, chips or inconsistent smile lines are slowing you down, a purpose-designed acrylic French tip cutter brings speed and uniformity back to the process. Pick the shape that matches your signature style, practice controlled trims, and you’ll find most touch-ups take far less time than re-shaping with a file alone.